Installation Guide
The HMG can function as either a Zigbee to Ethernet adapter or a Zigbee to USB adapter. Depending on your usage, connect your device accordingly.
Zigbee2MQTT Configuration
Ethernet Connection
- Insert the RJ45 cable into your device.
-
Follow the Zigbee2MQTT setup process as outlined in the official guide. It can be set up as a Linux package, Docker container, or as an extension for Home Assistant.
-
Use the following configuration for the
port:settings:
-
192.168.0.2is the IP address of the HMG on your network. -
6638is the port for your HMG adapter (default is 6638, can be configured via the Web Interface).
When using mDNS Zeroconf autodiscovery, your Zigbee2MQTT serial settings should look like this:
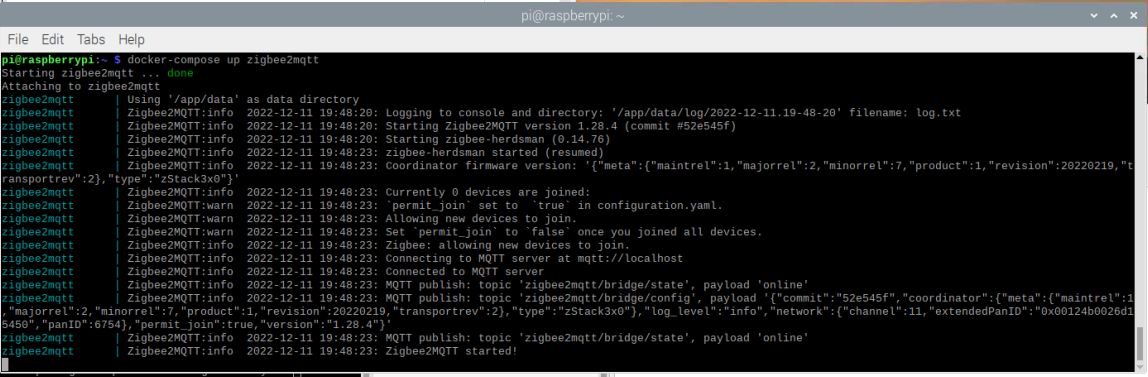
- Start Zigbee2MQTT.
USB Connection
- Connect the Type-C cable to the device.
-
Follow the Zigbee2MQTT setup process as outlined in the official guide. It can be set up as a Linux package, Docker container, or as an extension for Home Assistant.
-
Use the following configuration for the
where:port:settings: -
/dev/ttyUSB0is the device path. For Windows users, this is typically a COM port, such asCOM3. -
Start Zigbee2MQTT.
Zigbee2MQTT in Docker
-
Install Docker and docker-compose.
-
Create a
docker-compose.ymlfile:
version: '3.8'

services:
  zigbee2mqtt:
    container_name: zigbee2mqtt
    image: koenkk/zigbee2mqtt
    restart: always
    environment:
      - TZ=Europe/Berlin
    volumes:
      - /run/udev:/run/udev:ro
      - /home/pi/docker-containers/zigbee2mqtt:/app/data
Key parameters and their definitions:
network_mode: host- This means that your container has the same network access as the host machine.privileged: true- This allows your container to access your host devices, which is important if you are using a USB connection./home/pi/docker-containers/zigbee2mqttis the location of your Zigbee2MQTTconfiguration.yamlfile.
ZHA (Zigbee Home Automation) Configuration
Autodiscovery
Home Assistant version 2023.1 and above includes LAN autodiscovery for the HMG. If your network router allows mDNS, the setup is straightforward:
- Run Home Assistant.
- Connect your HMG to the LAN (via Ethernet or WiFi).
- Home Assistant will notify you that a new supported device has been found and will offer to set it up. Confirm this to integrate the HMG with Home Assistant using the ZHA integration.
Manual Configuration
- Open Home Assistant.
- Click
Settings. - Go to
Devices & Services. - Click
Add integration(bottom right corner). - Find
Zigbee Home Automationand click on it. - Choose
Zigbee Home Automationfrom the options. - In the serial port window, select
Enter manually. - In the radio type window, choose
ZNP = Texas Instruments Z-Stack ZNP .... - For the serial port settings:
- Serial device path:
socket://192.168.1.2:6638, where 192.168.1.2 is the IP address of your HMG. - Leave the port speed at the default of 115200.
- Data flow control can be left undefined (it is not relevant for LAN adapters).
- Serial device path:
- Click
Submit. - In the network formation window, select
Erase network settings and form a new network. - Wait for the Zigbee network to form, then try adding some Zigbee end-devices (e.g., sensors).